We are excited because Redfin recently reached out to us for an article they were working on about bringing pottery into the home. Suffice to say we had a lot of suggestions that we would love to highlight because we work so much with functional pottery! We made some suggestions on how to pick out planters that will not only be beautiful in the home, but would make sure it is the right fit for the kinds of plants going into them. Here’s an excerpt of what we had to say:
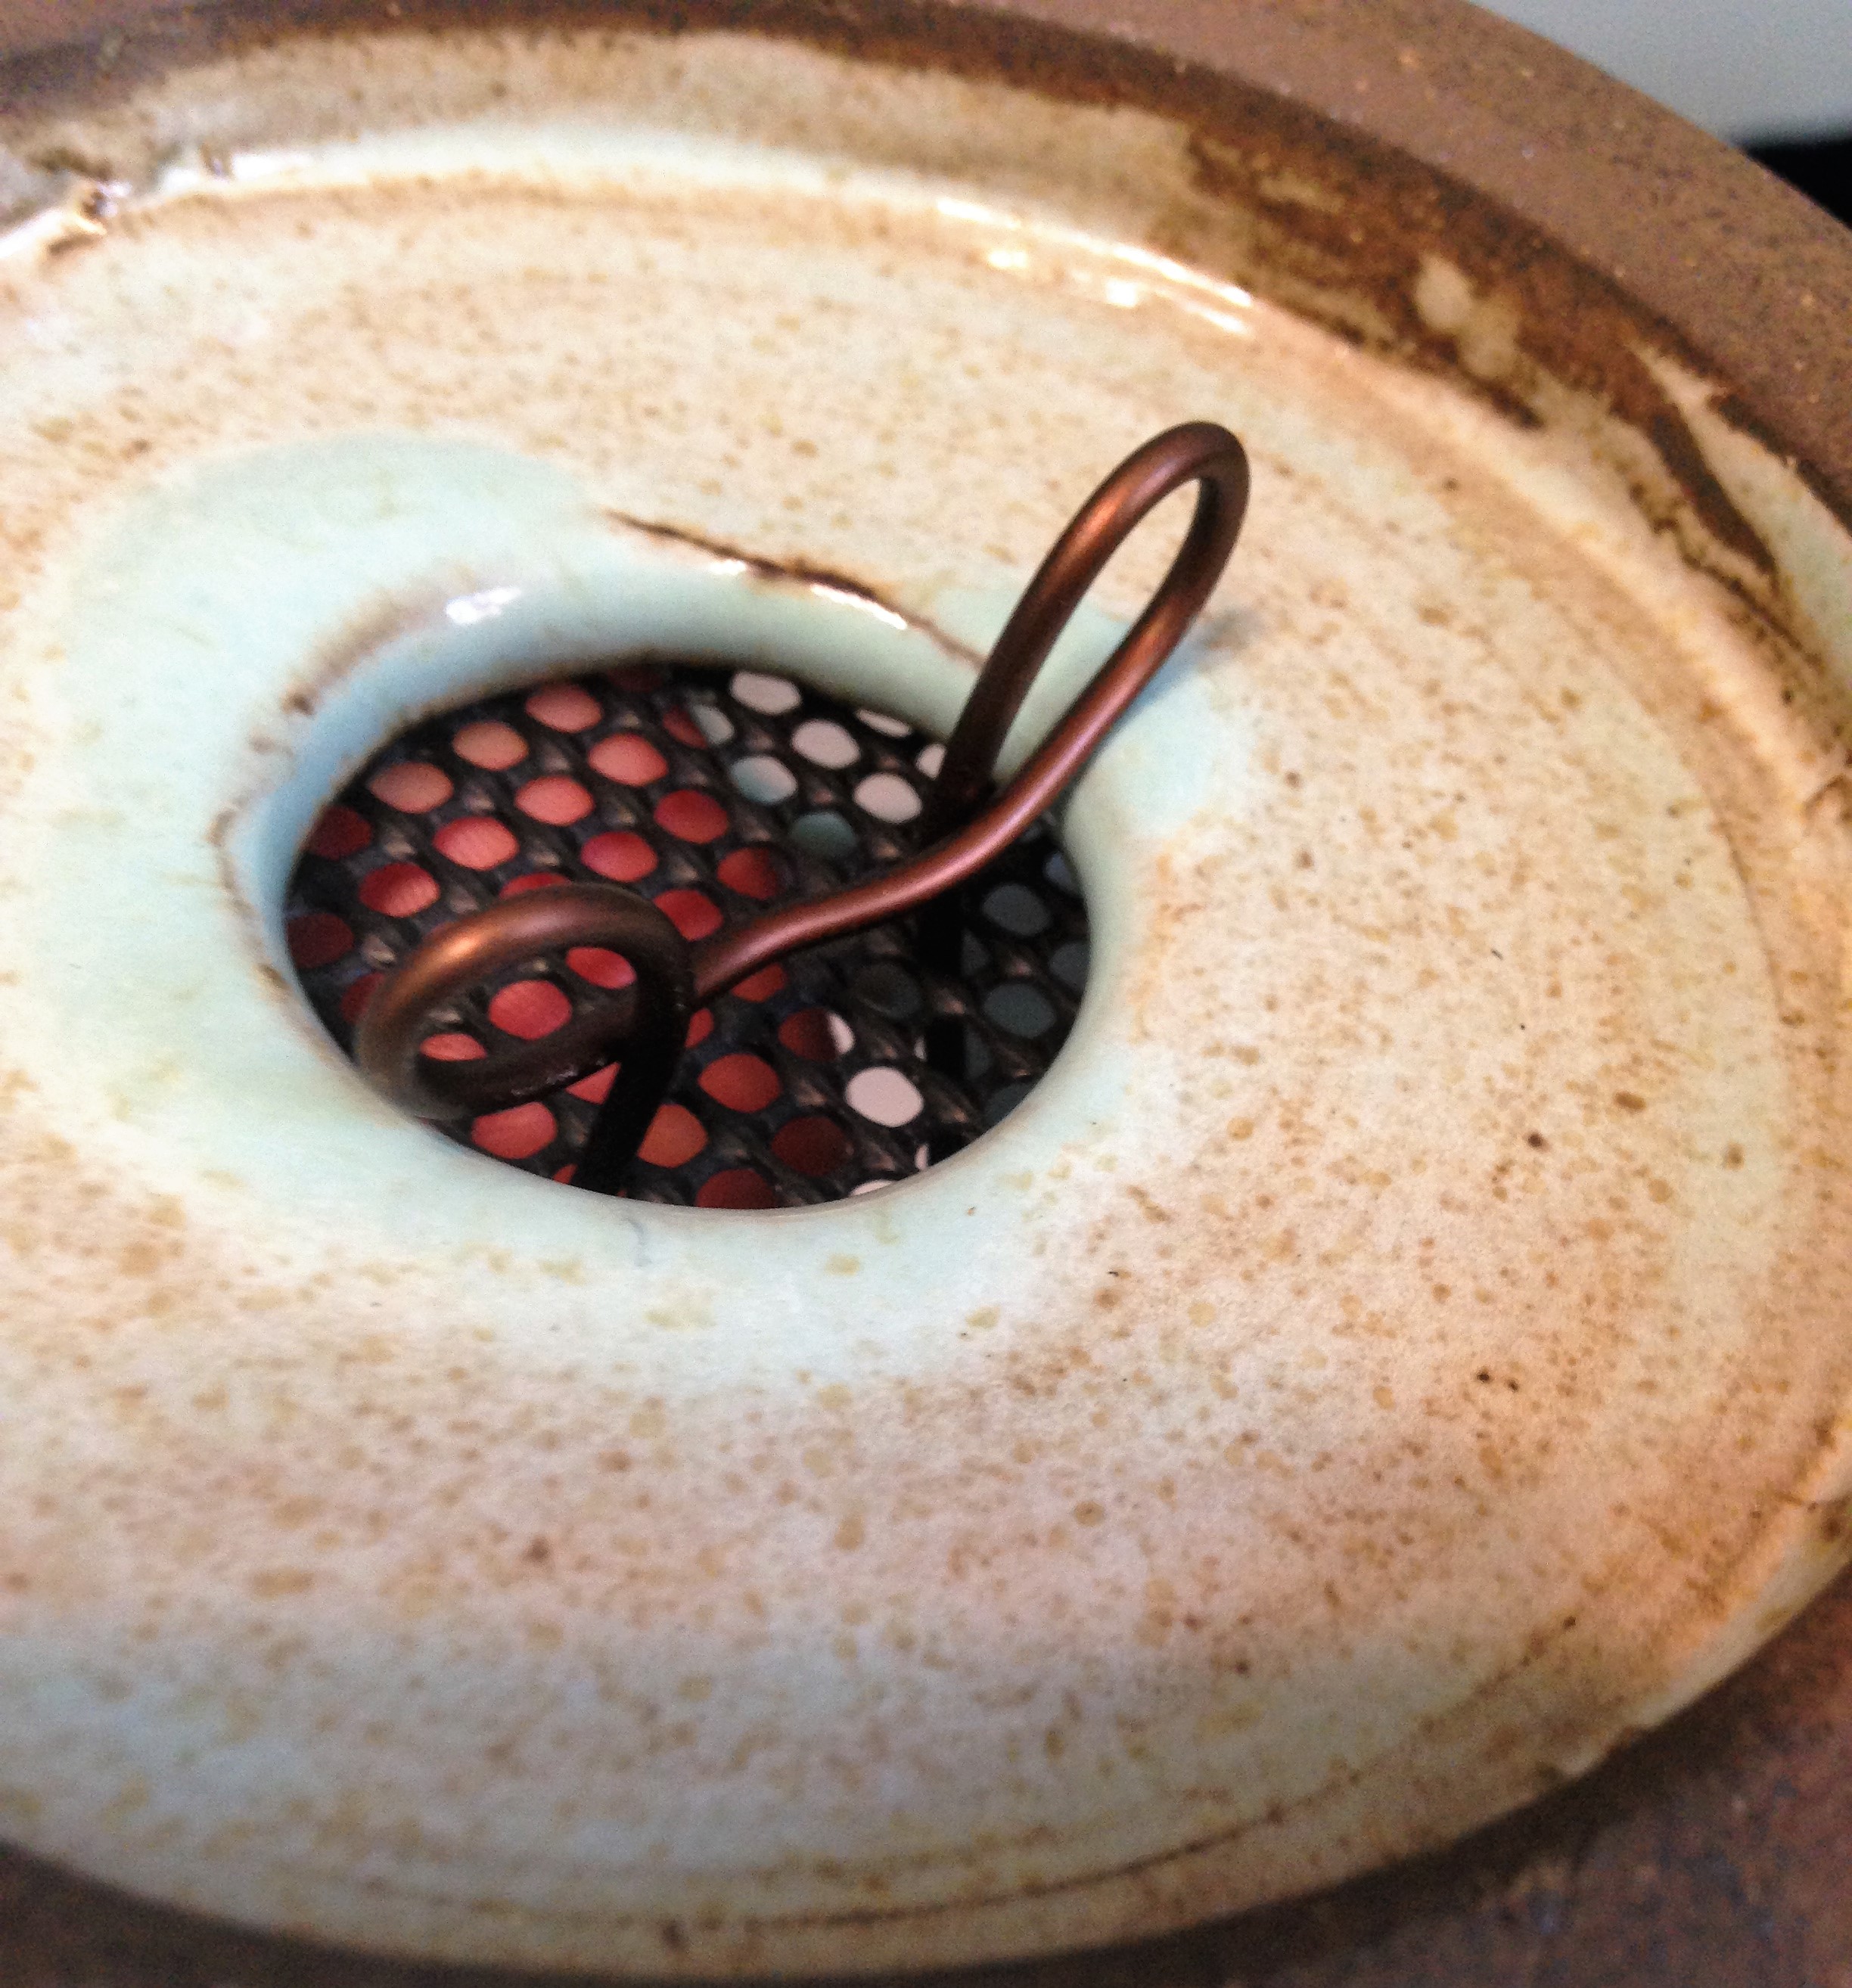
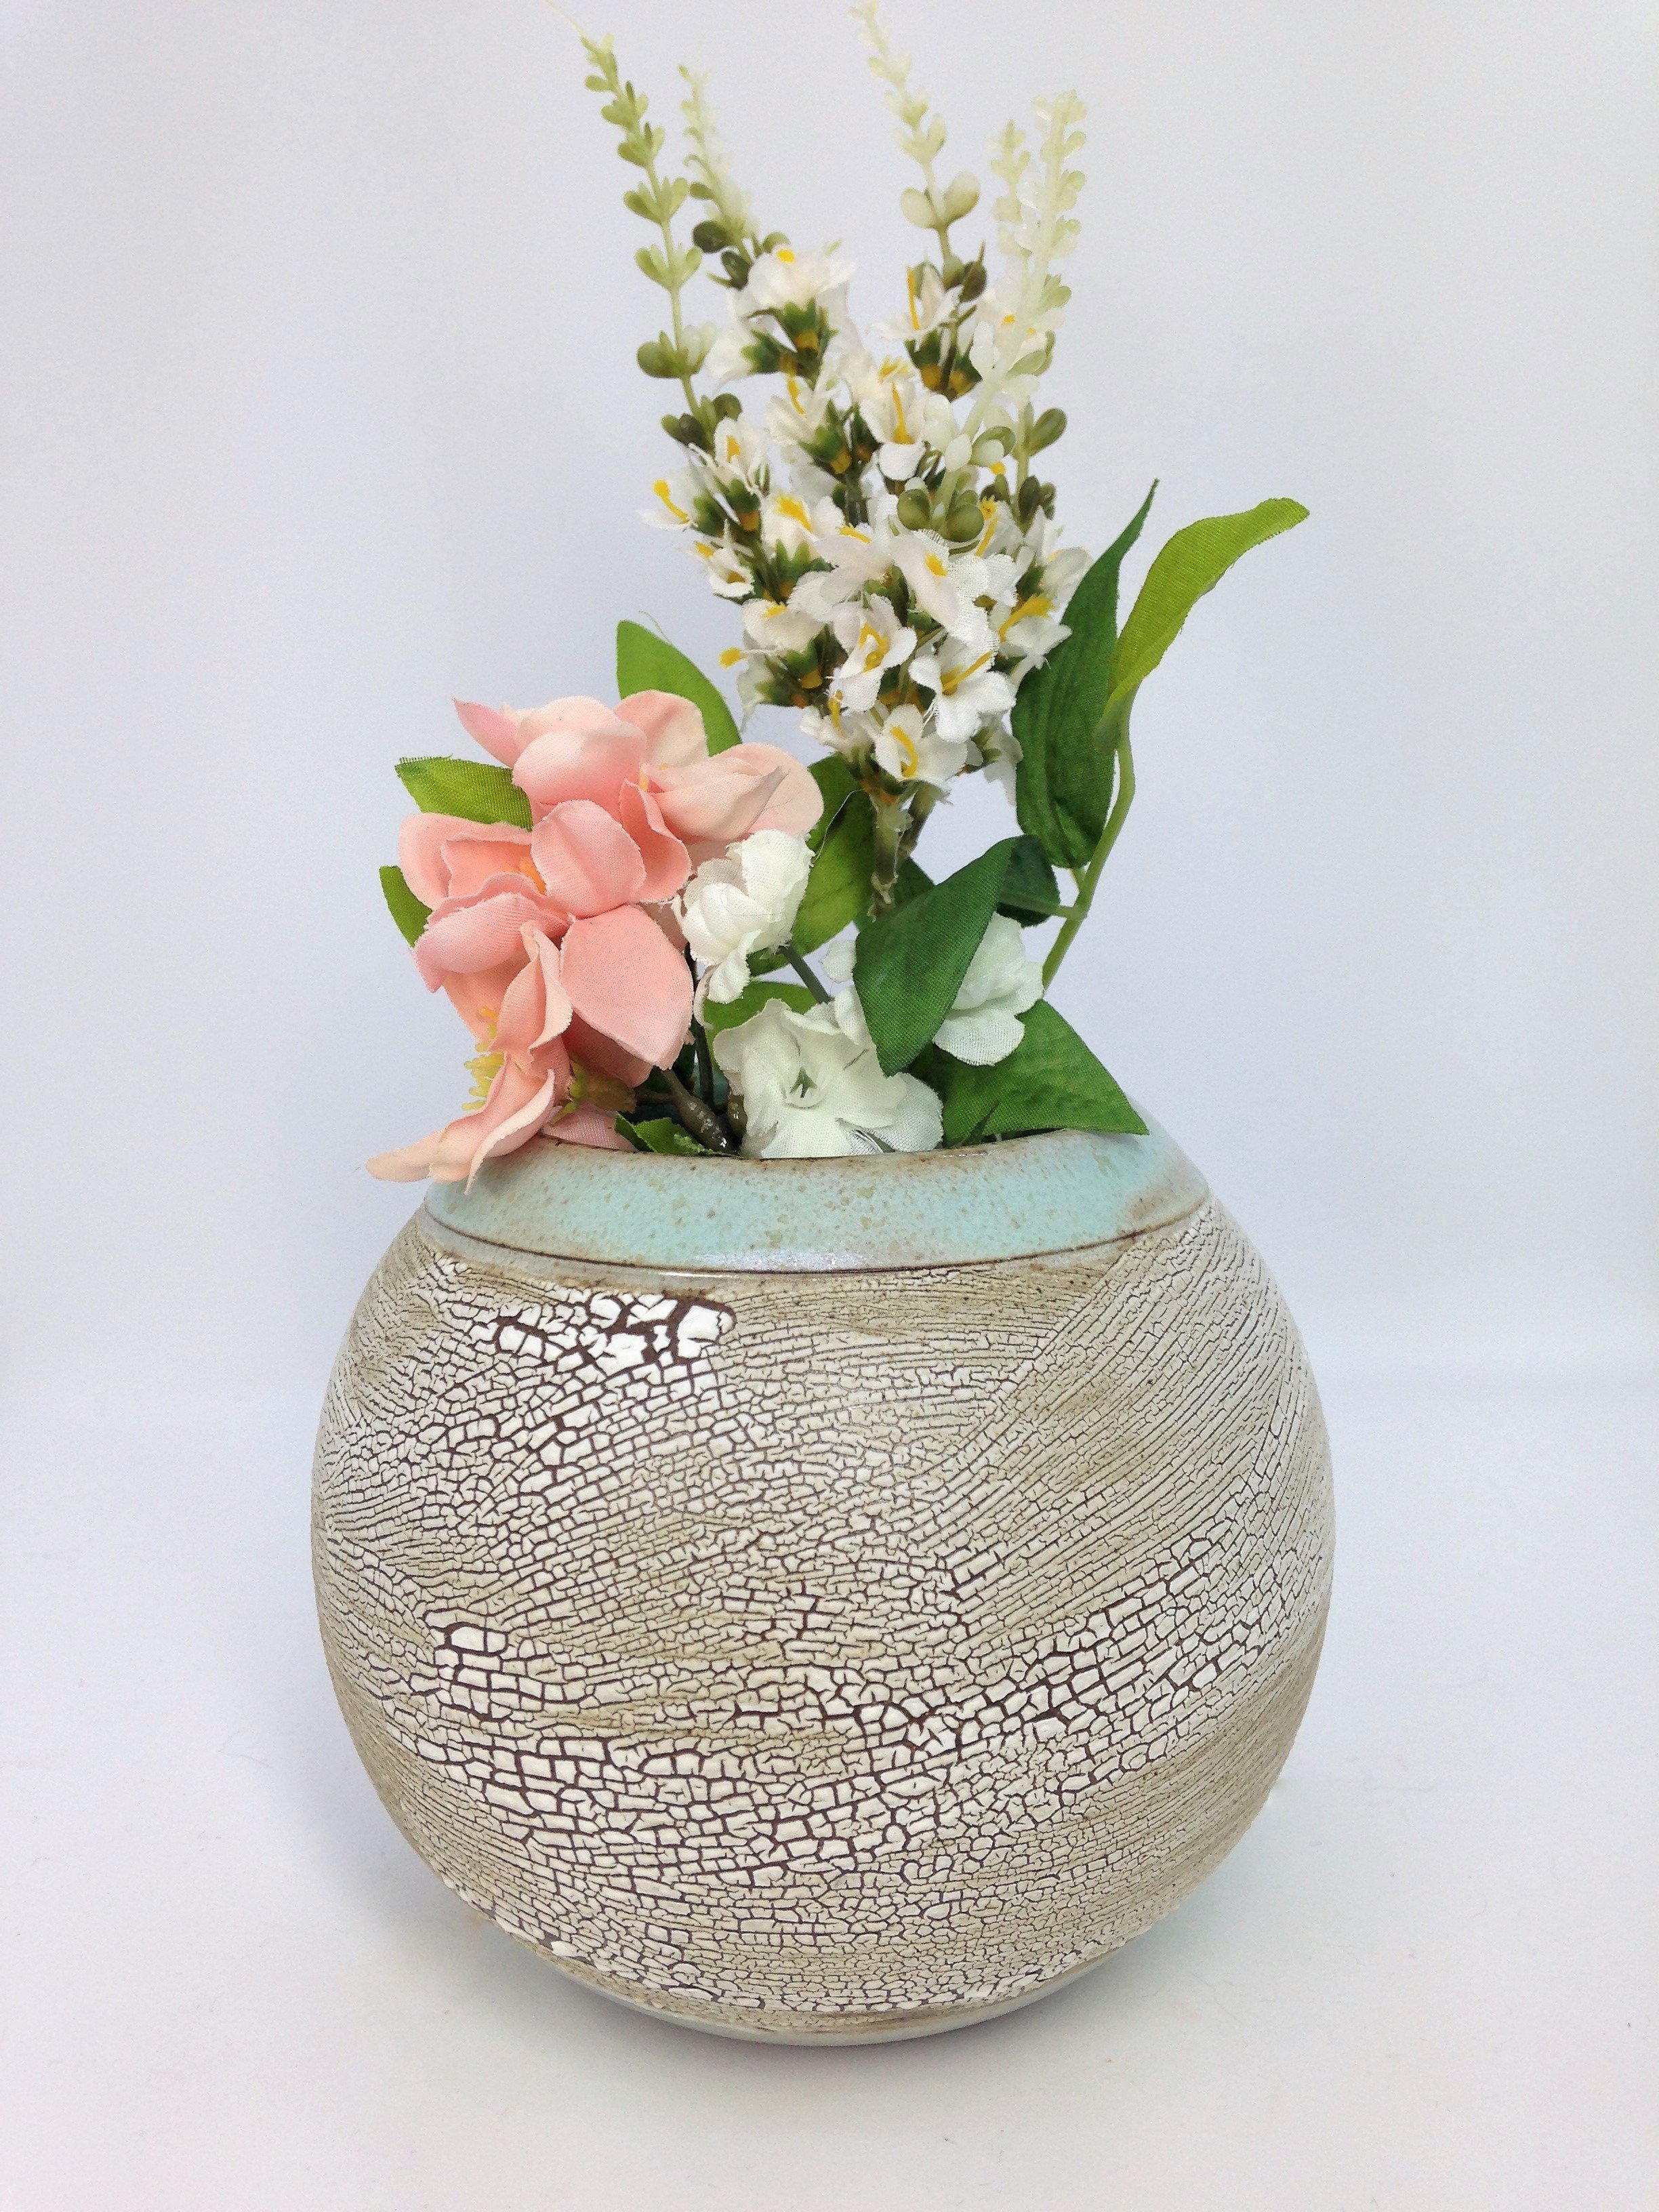
“Planters are a great addition to any room because they can add a splash of color and enliven a space. To avoid overwatering look for a planter that has drainage holes and is also glazed on the inside. planters that are unglazed on the inside tend to retain more moisture for a longer period of time. Besides using color as a determining factor, handmade ceramics can also have different textures that make a piece unique and tie a room together. A ceramic artist can often make a matching saucer that will catch excess water, protect your furniture, and make for a more striking aesthetic.”
So if you have a heavy hand when watering your plants or love to collect cactus and succulents that don’t need a lot of water, make sure to find a planter with plenty of drainage holes and is glazed both inside and out. This way water does not collect in the bottom or get absorbed into the pot and drown the roots. Conversely, if you have a plant that is particularly thirsty or you often forget to water your plants, finding a planter that is unglazed on the inside will help the pot retain moisture.
Here is the link and a small snippet of the article and hope you enjoy!
Functional Pottery Ideas to Complete Your Home This New Year
Dating back centuries ago, pottery has always been a popular form of artistic expression and has played a critical role in creating a captivating space. Functional pottery is beautiful in both form and function, purpose and practicality. It’s created to evoke joy through everyday use. After all, there’s no denying that drinking from a handmade mug or serving dinner in a bowl created by a local artist means so much more. From dishes and decorative pieces to flowerpots and lamps, finding a unique piece to add beauty in any room of the house can make all the difference.
While there aren’t many rules when it comes to expressing your personality and style through pottery, one thing’s for certain – it shouldn’t be stored away in a cupboard. Don’t know where to start? Redfin asked us, along with other artists, from Lake Tahoe, CA all the way to Orlando, FL, to share our best functional pottery ideas to complete your home this new year. Check out what we had to say!